Thursday, 7 March 2013

New forged bits and bobs.

As of last Monday I returned to the forge after completing my dissertation and began to explore distortion once again. I want to continue along the lines of making normality fall into distortion. e.g. a railing that has been melted and distorted, or an everyday object that has been squished. the problem being I have to make the entire object and it needs to be made with the distortion in mind in order to make the item 'work'.  

 The first object I made as a simple piece that used the scrolls that I was inserted in that I showed in the images of my sketchbook, i wanted to see if it would be possible to create a piece that altered peoples ideas of blacksmithing. i needed to test to see if the scrolls would distract from the distortion.

Simply riveted together, 4 pieces of 15mm x 5mm, 19cm long. 2 pieces scrolled to look like tiny metal moustaches and the others just curved. The rivets don't look very beautiful because they where hard to access.

Got Will to help me squish it with a sledge hammer as I didn't want to splat the whole thing under the power hammer. Sadly I missed a couple of times with the sledge hammer and left nasty dents in the ends of the scrolls. 

I would have liked to have forged this out a lot more but the rivets holding it together got super thin and I was worried that they where going to break so I stopped before I destroyed it. I also dished it to make it look more lovely, and also functional which I didn't really want. 

Here is the backside all super shiny and wire brushed.


Photo using my good camera.


Next I was curious and decided to rivet a load of just simple pieces of flat bar together and crush them to the edge of existence under the power hammer. 

The rivet was a tad too long and kept going spaghetti shaped while I was trying to forge it, tho it does hold it together so it fits its purpose. 


Here it is after I squished it using the big power hammer.

Detail of the ends.

More detail.


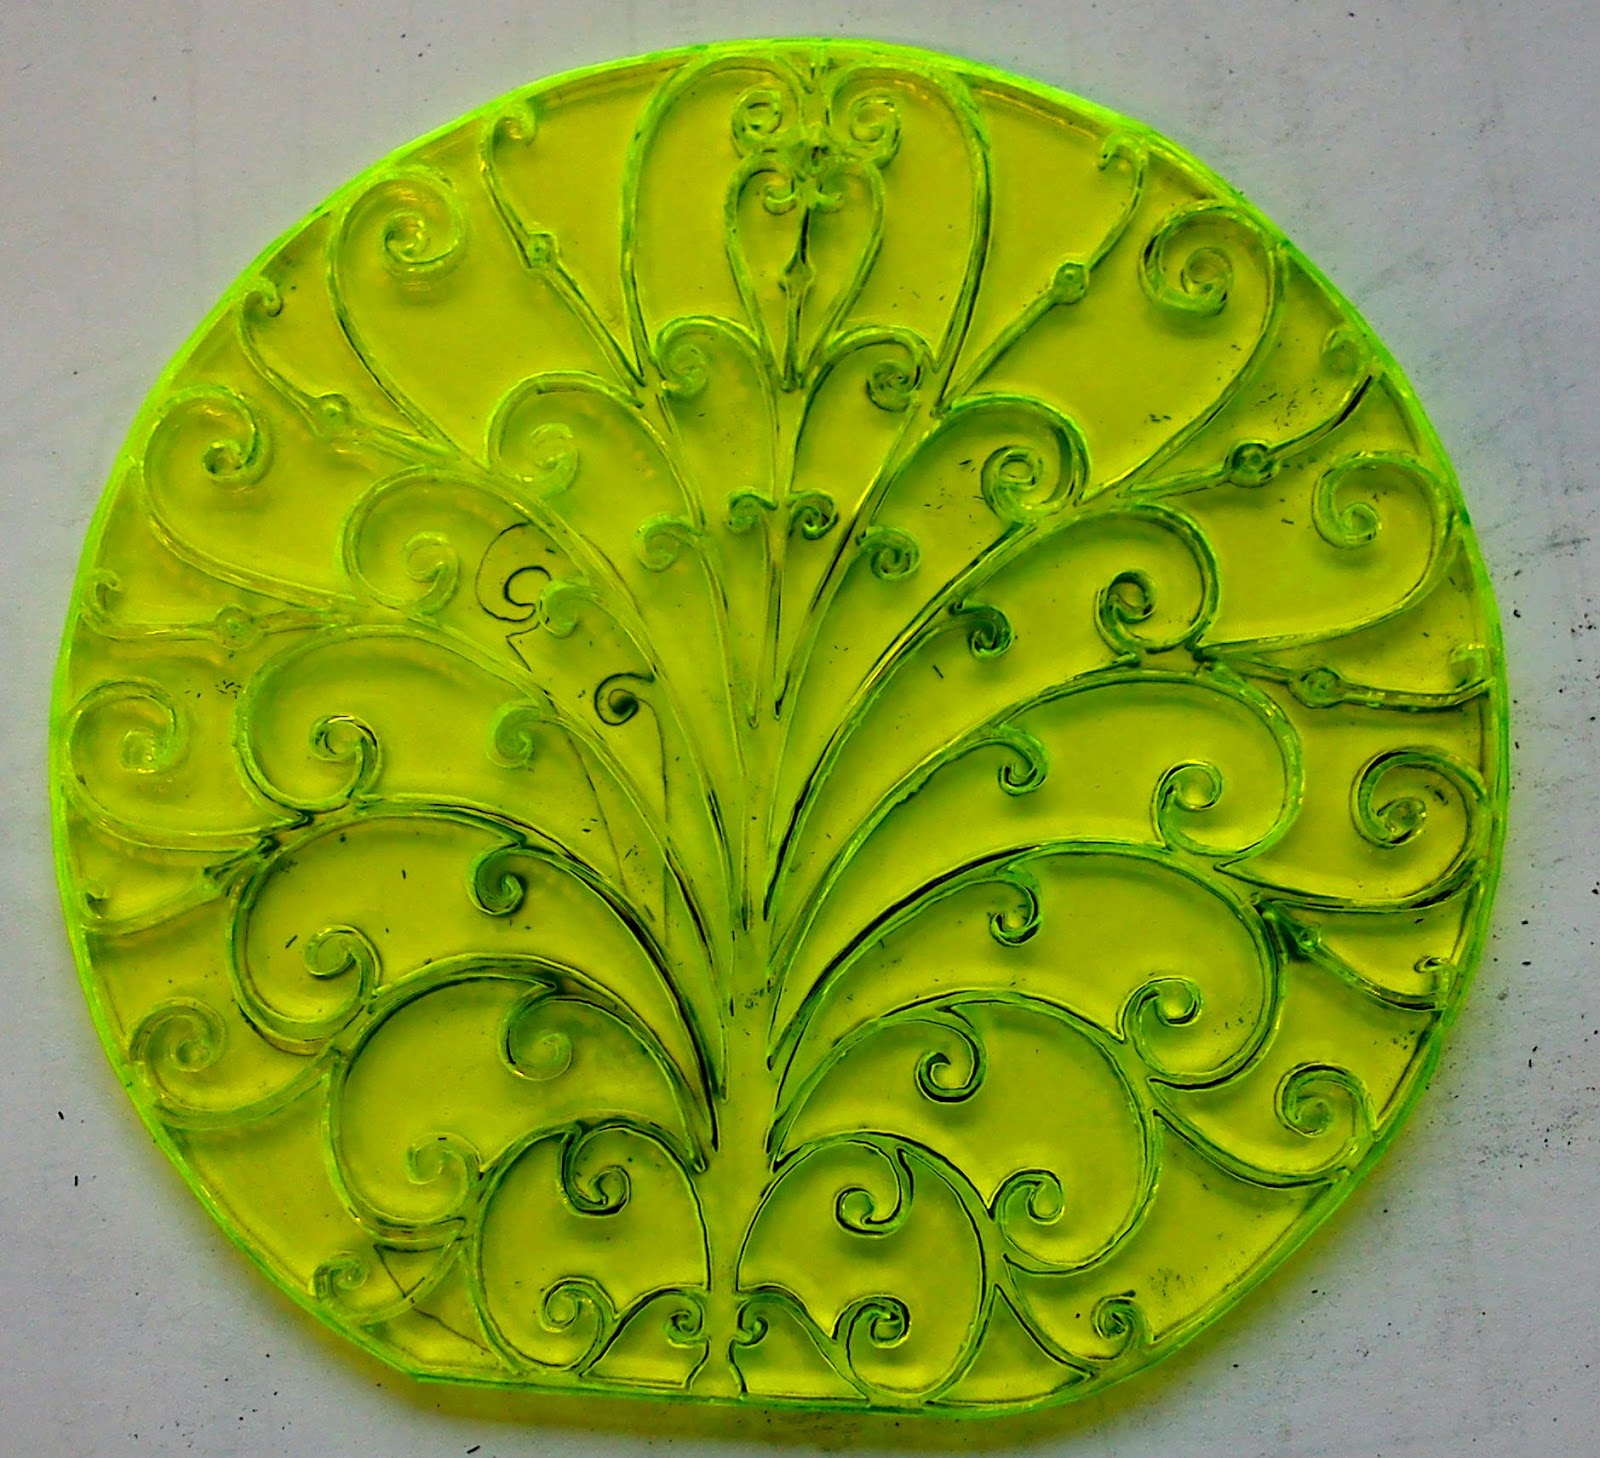
After completion and taking photos I then proceeded to add my favorite splash of colour to the distortion, I think the colour makes the pieces that contain distortion,it makes it different from the rest.


Wednesday, 27 February 2013

Laser cutting.


Today I had much better success laser cutting, the previous piece was so thin that once the inner cutting where removed there wasn't much of the structure left to hold it together, below I put a contour line 1mm around the original line meaning that it was at least 2mm thick, the outcome was very successful.   (excuse bad images, taken with phone, through the laser cutter window)

Two pieces ready to be cut out on the screen, red being cut and green being etch.


Tuesday, 26 February 2013

New project. resolution of practice.

For this project I want to continue to look at distortion as my inspiration, I'm interested in taking pieces of ironwork then distorting them, ether by squishing or stretching . Below are some scans taken from my sketchbook of my work so far.
 Laser cutting, I took some of the images I had been looking at into the 3D workshop and cut them out of Perspex, the only problem was that the lines it was cutting out where super then therefore I'm worried about popping all the pieces out.
LASER POWER
Placed it on the scanner, came out crazy coloured..
Paper from behind the second piece I cut, images will be included soon.


Sunday, 27 January 2013

YES. Its so beautifull.

Here are images of some samples I have made for my black hole piece. Under normal light the perspex rod inserts look relatively boring but under ultra violet light it gets much more interesting.

Uv light and flash on the camera.


No Uv light.


Wednesday, 23 January 2013

Work in progress

I'm almost there,it's taking a lot longer than i thought it would to make this piece.Cant wait to get it riveted together, coloured perspex added and brush it up.


Thursday, 27 December 2012

Impossible circle

This piece utilizes a twist that doesn't really work although it was the first piece I riveted and the rivets looked good so I decided to continue with them.


This is the next sample with the rivets, this one doesn't twist up it is just a simple flat piece which made it look much nicer and  is easier to put together.

These 2 drawings (this one and below) are of a full circle riveted together, after mulling over this for a while I have decided that it will be very difficult and time consuming to put this together if I where to make it and time isn't something I have.

In the end I have decided that I will construct it like this, with either an equal or odd number of pieces riveted together.